

Accurate current measurement stands as a cornerstone in Power Electronics Design. Whether you are developing battery management systems, motor drives, or power supplies, the ability to measure current precisely determines system efficiency, safety, and performance. Kelvin connections, also known as four-wire sensing, provide the solution for eliminating measurement errors caused by parasitic resistance in Pcb Traces and connectors.
This guide explores the principles behind Kelvin connections and provides practical routing best practices for achieving accurate High Current measurements in your PCB designs.
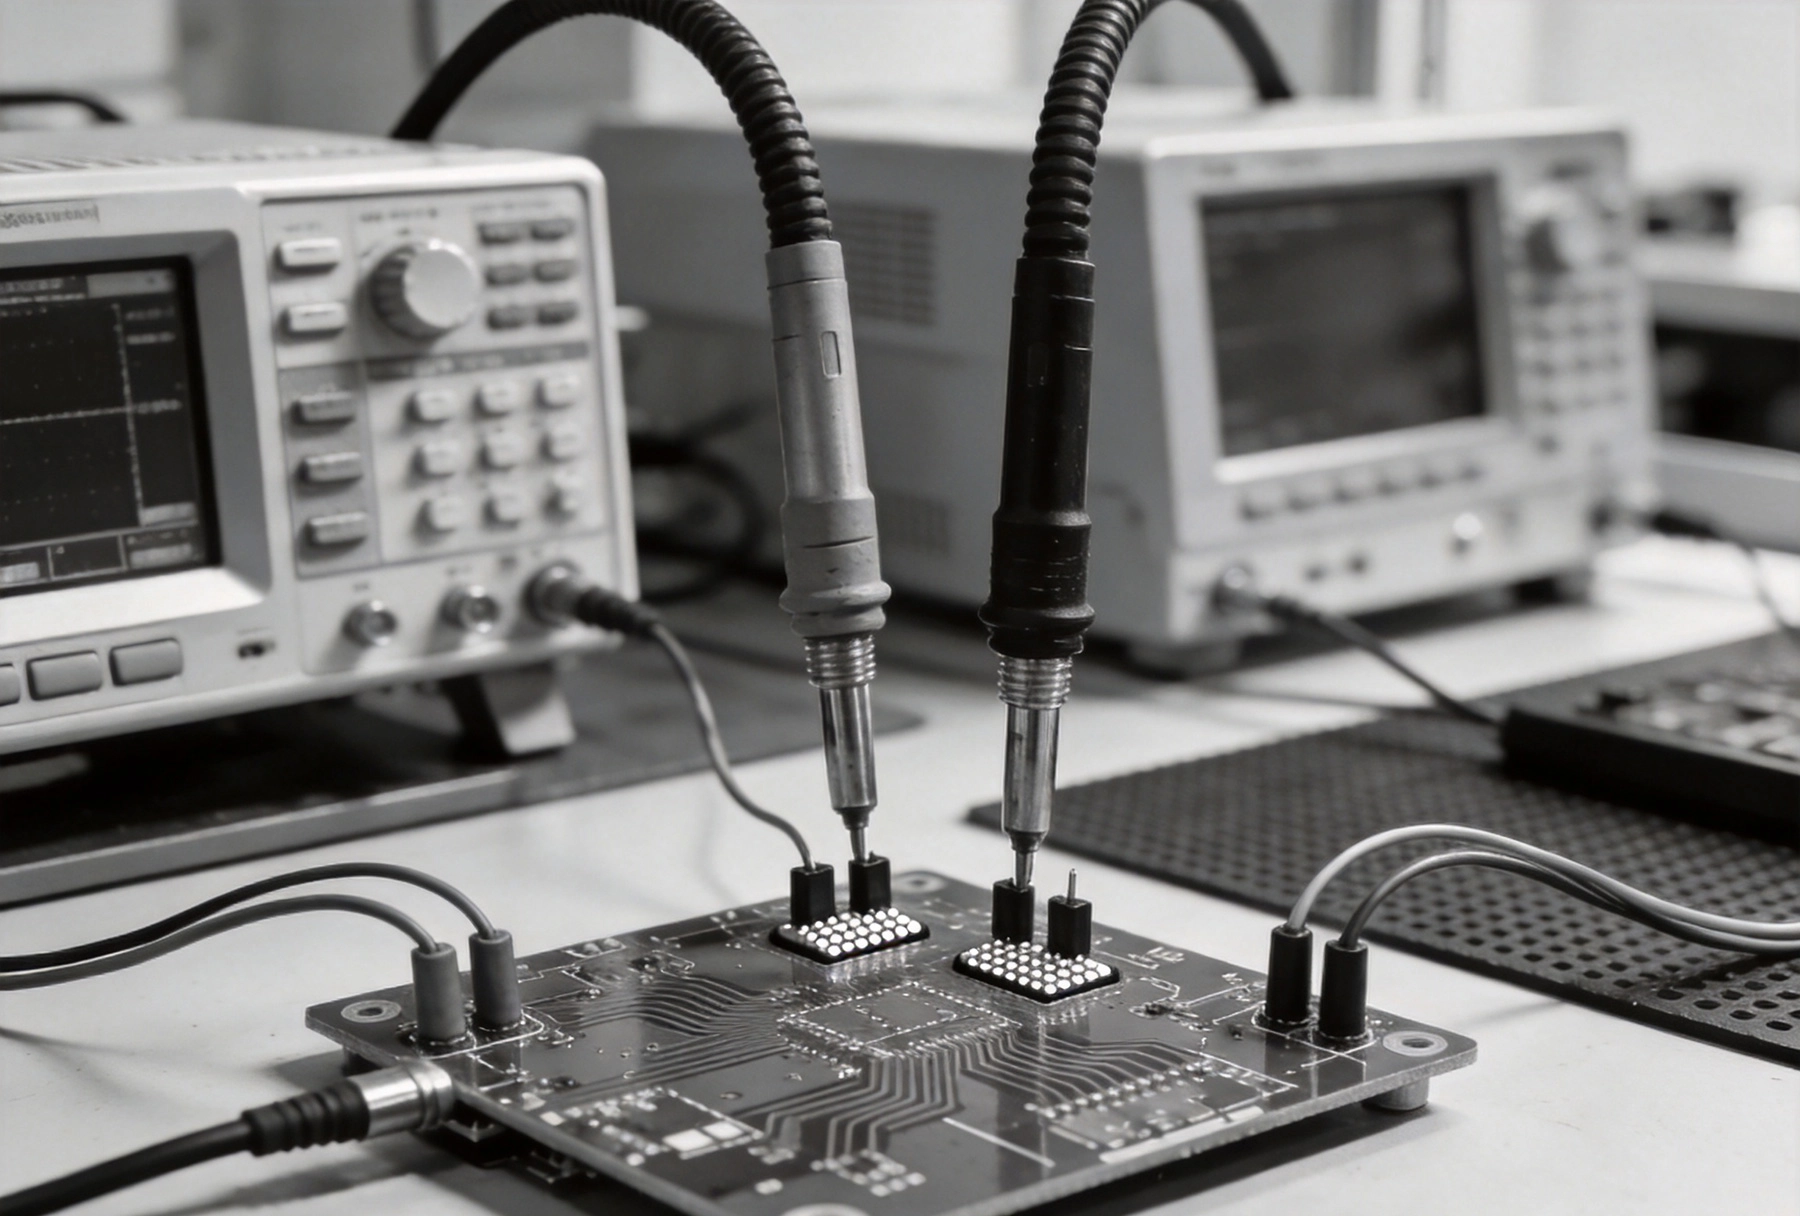
Kelvin connections derive their name from Lord Kelvin, who first demonstrated the four-wire measurement technique. The fundamental principle addresses a common problem in electrical measurement: voltage drops across the leads and connections used to measure current introduce significant errors.
In a conventional two-wire current measurement setup, the same traces that carry current to the measuring instrument also carry the measurement signal. This creates a fundamental limitation: any resistance in the current path adds to the measured value, producing artificially high readings.
Consider a typical scenario where the Pcb Trace carrying current to your measurement Shunt Resistor has just 10 milliohms of resistance. When measuring a 20-ampere current, this trace resistance alone introduces a 200-millivolt error in your measurement. For a 4-20 mA current transmitter, this error renders the entire measurement meaningless.
Kelvin connections solve this problem by separating the current-carrying paths from the voltage measurement paths. The technique uses four connections:
Because the sense leads carry only microamperes of current for the voltage measurement, the voltage drop across their connections becomes negligible. The actual voltage across the measurement element is captured accurately, regardless of the resistance in the high-current force paths.
Implementing Kelvin connections on a PCB requires careful attention to layout. The goal is to ensure that the voltage sense points contact the measurement element with minimum resistance and that the high-current paths do not interfere with the measurement.
The sense contacts must connect directly to the measurement element, not to any point along the current path. This precision placement distinguishes a true Kelvin Connection from a conventional four-terminal component.
For shunt resistors with built-in Kelvin contacts, the datasheet specifies the exact locations for sense connections. These are typically small pads positioned to contact the resistor element at its voltage sense points.
When using discrete components, you must create the Kelvin structure yourself. Route the sense traces to contact the resistor terminals at points as close as possible to where the current enters and exits the resistive element.
The force traces carrying high current require appropriately sized copper to handle the current without excessive heating or voltage drop. Use IPC guidelines or Pcb Design calculators to determine minimum trace widths for your current levels and Copper Weight.
Keep these trace widths consistent throughout the current path. Avoid narrowing traces near connectors or terminations, as this increases resistance and generates heat.
Several standard topologies exist for implementing Kelvin connections in PCB designs. Each offers advantages for specific applications.
The most common approach places all four contacts on the same side of the measurement element. This layout works well for surface-mount shunt resistors and provides straightforward routing.
Key design points:
For the highest accuracy, the cross-bridge topology routes sense traces on the opposite side of the PCB, connecting to the measurement element through plated through-holes. This approach minimizes thermal EMF errors and provides excellent noise rejection.
This configuration suits precision measurement applications where sub-microvolt accuracy matters. The additional manufacturing complexity pays off in measurement performance.
Many modern shunt resistors incorporate Kelvin contacts as part of their package design. These components feature four or five terminals with sense contacts positioned at the voltage sensing points during manufacturing.
When using integrated Kelvin probes, follow the datasheet recommendations for pad layout and solder mask damming. These features control Solder Wicking that could otherwise compromise measurement accuracy.
Proper trace routing determines whether your Kelvin Connection delivers its theoretical accuracy or falls short due to layout-induced errors.
Maintain clear separation between the high-current force traces and the low-current sense traces. This isolation prevents magnetic fields generated by high current from coupling into the measurement circuit.
Route sense traces perpendicular to force traces rather than parallel. When sense traces must run parallel to force traces, maximize the separation distance.
Temperature changes induce voltage offsets in copper traces through the thermoelectric effect. While these offsets are small, they become significant in precision measurements.
Strategies to minimize thermal effects:
For applications involving high-frequency current pulses or fast transients, control the impedance of sense traces to prevent ringing and signal distortion.
Use 50-ohm controlled impedance traces for the sense connections when the measurement system expects this impedance. Match trace lengths to preserve symmetry in differential measurements.
The components you choose for your Kelvin connection affect both measurement accuracy and manufacturing yield.
Shunt resistors come in various constructions, each with different characteristics:
The plating on component terminals affects contact resistance and its stability over time and temperature cycles. Gold-plated terminals provide the most stable contact resistance, while tin plating may oxidize and increase resistance.
For production volumes, consider the trade-off between component cost and measurement stability. The lowest-cost component may introduce measurement drift that costs more in system performance than the component savings.
Several common layout errors compromise Kelvin connection performance. Recognizing these mistakes helps you avoid them in your designs.
Placing sense contacts at the PCB edge rather than directly at the resistor defeats the purpose of Kelvin sensing. You measure the voltage drop along the trace, not across the shunt element.
Always route sense traces from the immediate vicinity of the resistor terminals. If manufacturing constraints require longer traces, account for their resistance in your measurements.
Using the same via for both force current and sense connections introduces resistance that corrupts measurements. Force and sense paths must remain electrically distinct from the point of measurement back to the instrumentation amplifier.
Each of the four connections requires its own dedicated trace and via structure. Do not share vias between force and sense circuits, even at the return side of the measurement.
When soldering, excess solder can wick along component leads and traces, creating unintended connections that add resistance to the measurement path. This effect proves especially problematic for small sense pads.
Specify solder mask dams around sense pads to contain solder during reflow. Many Kelvin-specified shunt resistors include solder mask openings sized for optimal joint formation.
Cutting slots or gaps in ground planes to route sense traces creates impedance discontinuities that may affect measurement circuit performance, especially at high frequencies.
Route sense traces over continuous ground reference when possible. If slots are necessary, ensure they do not disrupt return current paths for other sensitive circuits.
After layout completion, verify your Kelvin connections meet accuracy requirements through appropriate testing.
Confirm that the four connections are continuous from component to measurement electronics. Also verify that force and sense paths remain isolated from each other except at the Shunt Resistor.
Measure the resistance between sense points with the force path open. This measurement should equal the shunt resistor value within manufacturing tolerances. Unexpectedly high resistance indicates a broken or high-resistance connection.
Measure the resistance of force paths separately. These values should be low and consistent with calculated trace resistances.
For precision applications, verify the temperature coefficient of the complete Kelvin connection structure. Temperature changes should not introduce significant measurement offset errors.
Characterize the measurement system across the expected operating temperature range to confirm performance under real-world conditions.
Implementing accurate Kelvin connections for High Current PCB measurement requires attention to several critical factors:
When implemented correctly, Kelvin connections provide the accuracy foundation for current measurement in demanding Power Electronics applications. The additional layout complexity pays dividends in system performance, efficiency measurement, and protection circuit accuracy.
A Kelvin connection, or four-wire sensing, separates the high-current carrying paths from the voltage measurement paths. This eliminates errors caused by voltage drops across connection resistance, enabling accurate measurement of low resistances or currents in Power Electronics applications.
Use Kelvin connections whenever measuring resistance below approximately 100 milliohms or when measurement accuracy better than 1% is required. Any application where connection resistance approaches a significant fraction of the measurement value benefits from four-wire sensing.
Sense points should be as close as manufacturing allows, typically within 0.5mm of the resistor terminal. For precision applications, some designs place sense points directly on the resistor body. The further the sense points from the resistor, the more trace resistance adds to the measurement.
Yes, plated through-holes work for sense connections. However, ensure each sense connection uses its own dedicated via rather than sharing vias between force and sense paths. For the highest accuracy, consider the thermal EMF introduced by different metals in the via structure.
Specify solder mask dams around sense pads to contain solder during reflow. Some Kelvin-specified components include integrated solder mask features. For manual assembly, use flux and controlled solder volume to prevent bridging.
Trace width depends on current magnitude, Copper Weight, temperature rise acceptable, and trace length. Use Ipc-2152 charts or Pcb Design calculators to determine appropriate widths. For 20 amperes on 1oz copper, typically 100-150 mils width per ampere depending on acceptable temperature rise.
High Current PCB Failure Modes and PreventionJune/18/2026
High Current PCB Current Sensing: Shunt Resistor vs. Hall Effect LayoutJuly/29/2026

High Current PCB Decoupling Caps: Placement Distance vs. Loop AreaOctober/12/2026
High Current PCB Snubber Circuits: Placement Impact on Voltage SpikesAugust/06/2026
How Much Current Can a PCB Trace Carry? Complete Engineering GuideMay/20/2026

Mastering IPC-2152 Current Carrying Capacity Calculation for Reliable PCB DesignJune/04/2026
High Current PCB Embedded Copper: Internal vs. External Heat DissipationSeptember/26/2026
High Current PCB Routing: 45-Degree Angles vs. Curved Traces in PracticeJuly/12/2026